
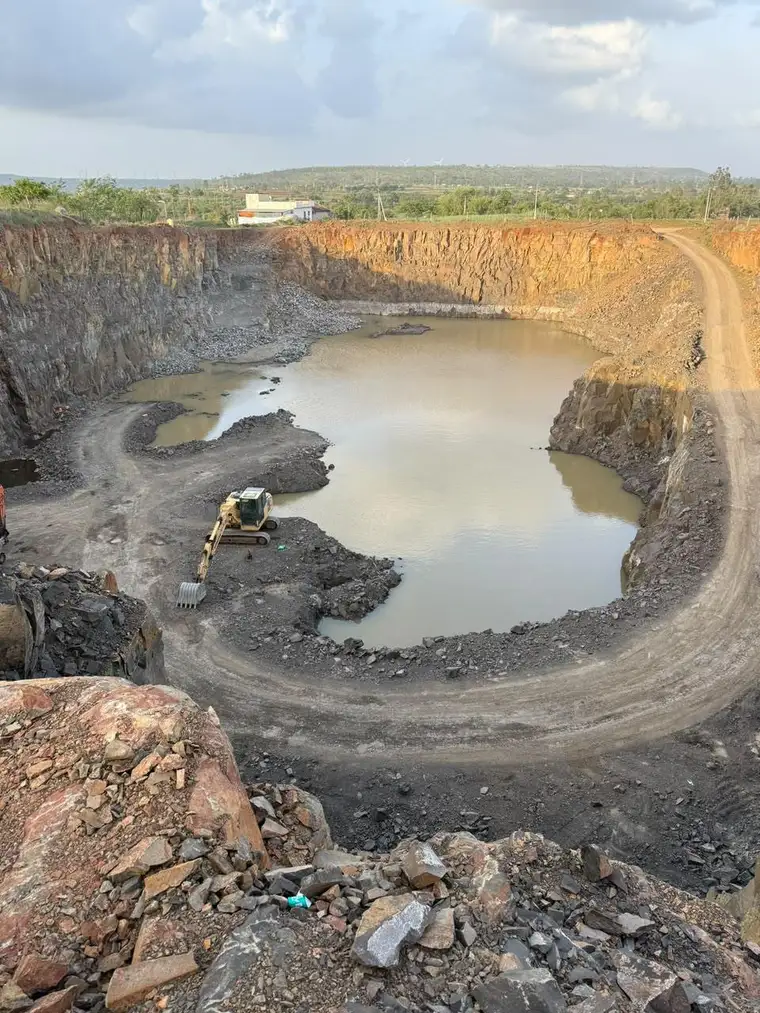
A drilling pattern in blasting is a short list of dimensions repeated across a bench: how far each hole stands from the face, how far from its neighbour, how deep it goes and how much of it is left uncharged. Get them roughly right and the rock comes down at a size the excavator and the crusher can handle. Get one wrong and it shows as boulders, a toe, flyrock or a complaint about vibration.
The burden and spacing formulas below are the rules of thumb printed in the standard blasting references, given as ranges. They are where a design starts. They are not a specification, and the blaster in charge adjusts them for the rock, the explosive and what the last shot did.
The terms, one sentence each
- Burden is the distance from a blast hole to the nearest free face, measured at right angles to the row, and the row-to-row distance behind that.
- Spacing is the distance between adjacent holes in the same row.
- Bench height is the vertical distance from the floor the rock will fall to, up to the floor the drill stands on.
- Sub-drilling is the length drilled below the lower floor level so that the charge breaks the rock out at grade and leaves no toe.
- Stemming is the inert material packed into the top of the hole above the charge, to hold the gas in long enough to do its work.
- Hole depth is bench height plus sub-drilling, lengthened for the angle if the hole is inclined.
- Stiffness ratio is bench height divided by burden.
Burden and spacing formulas as multiples of hole diameter
Everything starts from the hole diameter, because diameter decides how much explosive sits in each metre of hole, and the diameter comes from the drilling method. The ranges most often quoted:
| Dimension | Usual starting range | What moves it |
|---|---|---|
| Burden | 25 to 40 × hole diameter | Lower end for hard, massive rock and weaker explosive; upper end for soft or well-jointed rock and dense explosive |
| Spacing | 1.0 to 1.3 × burden | 1.0 for a square pattern; about 1.15 to 1.25 when staggered; wider only on tall benches |
| Sub-drilling | About 0.3 × burden, or 3 to 15 × diameter | Less where a bedding plane forms the floor or the holes are inclined; more for a hard toe |
| Stemming | 0.7 to 1.0 × burden, and not less than about 20 × diameter | Longer near houses and roads; some references allow up to 1.2 × burden |
| Bench height | At least the hole diameter in mm ÷ 15, in metres | A shorter bench needs a smaller hole |
| Stiffness ratio | 2 as a floor, 3 to 4 as the target | Below 2, redesign with a smaller hole or a taller bench |
After Ash, Konya and the Dyno Nobel quick reference guide. Ash's original survey of quarries firing ANFO found burdens nearer 20 to 25 diameters.
Two cautions about the table. The burden multiple assumes a hole full of explosive of ordinary strength, and a cartridge that does not fill the hole behaves like a smaller diameter. And the ratios were mostly worked out in the middle of the last century on rock that was not yours, which is why every reference that prints them also says to adjust after the first shot. How much explosive the pattern then takes, in kilograms per cubic metre, is the subject of powder factor.
Stiffness ratio: why a short bench breaks badly
Think of the burden as a beam fixed at the floor. A tall, slim beam bends and cracks easily. A short, thick one does not, and the explosive energy that should have broken it goes out through the collar and into the ground instead.
Konya's table, reproduced in highway blasting manuals, grades it plainly. At a stiffness ratio of 1, expect coarse rock, a hard toe, back-break, flyrock and high vibration, and redesign before firing. At 2 the result is fair. At 3 it is good, and above 4 there is nothing further to gain. The cure for a stiff bench is a smaller hole, which brings the burden down, or a taller bench where the bench design and the loading machine allow one.
Square versus staggered
In a square or rectangular pattern the holes of each row stand directly behind those of the row in front. It is the easier pattern to mark and drill. In a staggered pattern each row is offset by half a spacing, as in the figure. The explosive is spread more evenly through the rock, no strip between holes is left far from a charge, and the fragmentation is usually more uniform for the same drilling.
A spacing of 1.15 times the burden, staggered, puts every hole at the corner of an equilateral triangle, which is the most even distribution a pattern can give. Stretching the spacing well beyond the burden saves drilling and starts leaving boulders from midway between the holes, soonest on a low bench.
A worked drilling pattern
Take a 100 mm hole, drilled vertically, on a 9 m bench, in rock with an in-situ density of 2.7 tonnes per cubic metre. That density is typical of granite. Basalt is usually heavier and most sandstone lighter, so use the figure for your own rock.
Bench check = 100 mm ÷ 15 = 6.7 m minimum, so 9 m is fine
Burden = 30 × 0.100 m = 3.0 m
Stiffness = 9.0 m ÷ 3.0 m = 3.0
Spacing = 1.25 × 3.0 m = 3.75 m, staggered
Sub-drilling = 0.3 × 3.0 m = 0.9 m
Hole depth = 9.0 m + 0.9 m = 9.9 m
Stemming = 0.8 × 3.0 m = 2.4 m, leaving 7.5 m of charge
Rock per hole = 3.0 m × 3.75 m × 9.0 m = 101 m³
Tonnes = 101.25 m³ × 2.7 t/m³ = 273 t
Drilling = 9.9 m ÷ 273 t = 0.036 m per tonne
About 273 tonnes a hole, or one drilled metre for every 27.6 tonnes
Read the last line the other way round and it sizes the drilling. A plant taking 30,000 tonnes a month off this pattern needs about 110 holes, close to 1,100 drilled metres, before any allowance for re-drills, the front row's irregular burden and rock lost as oversize. Tighten the burden to 2.7 m for harder rock, keeping the spacing at 1.25 times, and each hole breaks 221 tonnes. That is nearly a quarter more drilling for the same output, which is the real cost of hard rock.
Marking out and checking on the bench
- 01
Clean and survey the bench
Loose rock from the last shot is cleared so the drill stands level and the collars are in solid ground. The crest line is fixed, because the front row's burden is measured from the face as it actually stands, not from where the last pattern assumed it would be.
- 02
Look at the face
An uneven or undercut face means the front-row burden changes down the hole. Where there is anything nearby to protect, the face is profiled and the front row set back or angled to keep the designed burden at every depth.
- 03
Mark every collar
Rows are set out with tape and offsets from a base line parallel to the face, each collar painted and numbered. A plan with the hole numbers goes to the driller and later to the shotfirer.
- 04
Drill to the plan and log it
Depth is set from the collar level of each hole, not as one figure for the bench, since a bench top is rarely flat. The driller records depth, voids, soft seams, water and anything that made a hole unusual.
- 05
Check before charging
Every hole is measured for depth and checked for blockage. Short holes are cleaned or re-drilled, over-deep ones backfilled to grade, and any hole that has wandered is charged for the burden it really has.
The last step is where a pattern is won or lost, because a drawing has straight holes and a bench may not. How holes go wrong, and how that is measured, is in blast hole deviation.
What to send for a drilling quote
A drilling quote needs the rock type, the bench height available, the hole diameter if the blast design is already fixed, the monthly tonnage or cubic metres, and what stands within a few hundred metres of the face. With those we can work out drilled metres a month and which of our ten machines suits the job. We drill collar position, depth, diameter and inclination to the blast design, as set out on the drilling services page. Where one crew should own both the hole and the charge, the design itself comes under controlled blasting.